
In this short article you will learn how to set up the Belltastic notifications component and start sending notifications in a standard Laravel application.
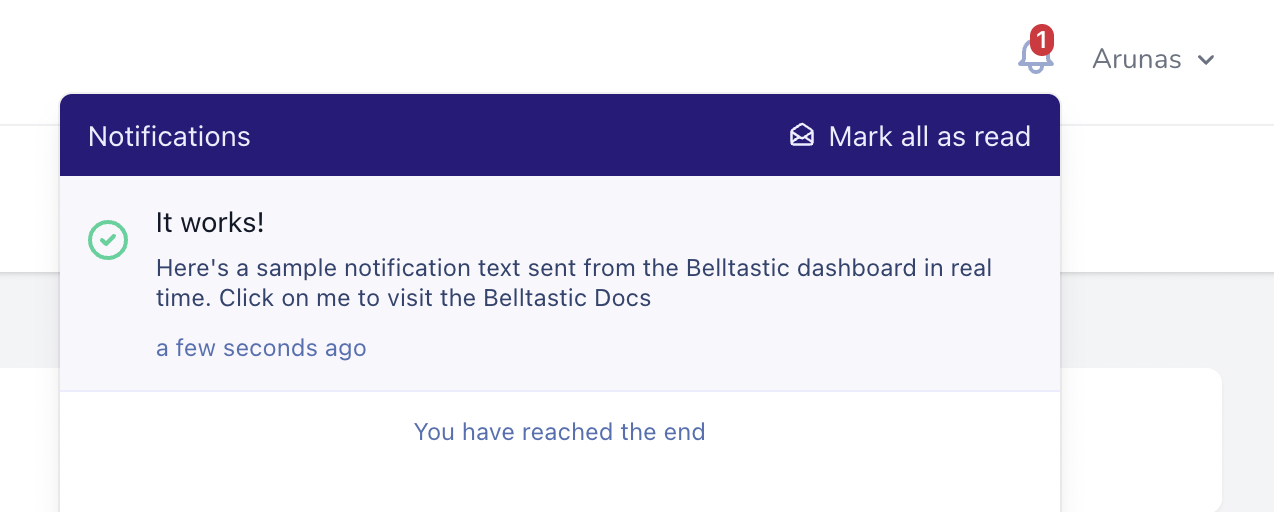
In the end, it will look like this:
Please make sure your project is using at least:
- Laravel 8 or higher, and
- PHP 7.3 or higher
For this example, we’re going to use a brand new, fresh installation of Laravel 8. You can replicate it with these commands:
composer create-project laravel/laravel belltastic-example

cd belltastic-example

# update your .env file with the correct database authentication values

php artisan migrate
Setting up authentication
The Belltastic component works best in a user-specific environment. Meaning you have users who use your app while authenticated. This way each user can have their own, personal notifications inbox, so you can target individual users when sending notifications.
If you don’t yet have authentication set up for your project, or you’re working along this guide, let’s scaffold out the authentication views for Laravel.
For this, we’ll use the Laravel’s starter kit called Breeze.
composer require laravel/breeze --dev

php artisan breeze:install

npm install
npm run dev
php artisan migrate
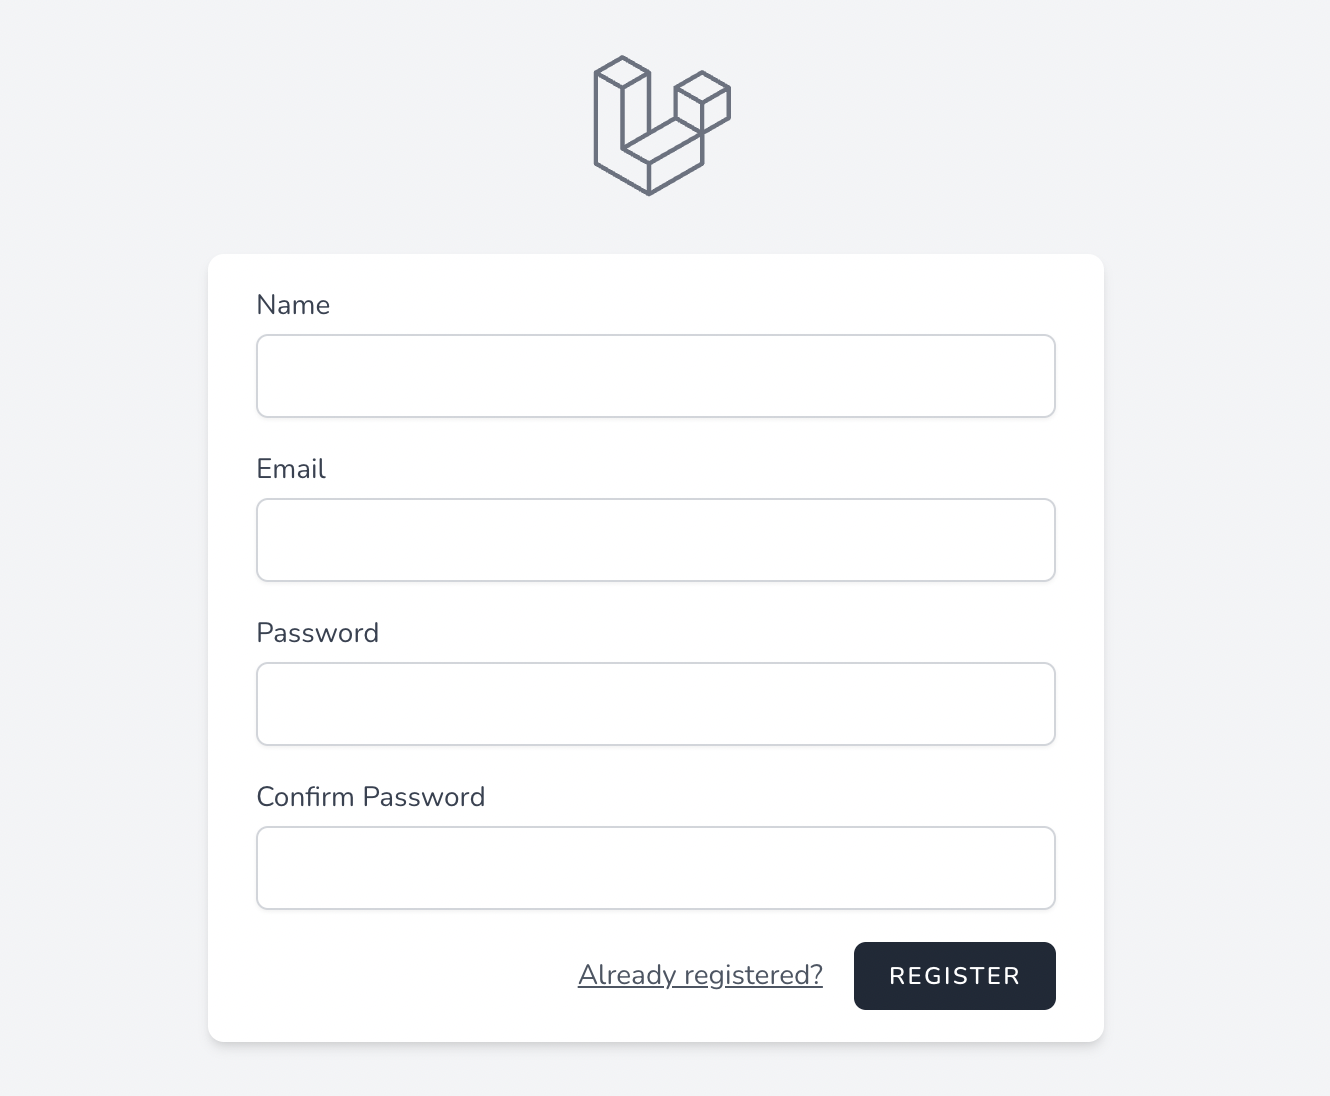
You will now have a beautiful registration page already:
Let’s create an account and see what it looks like logged in.
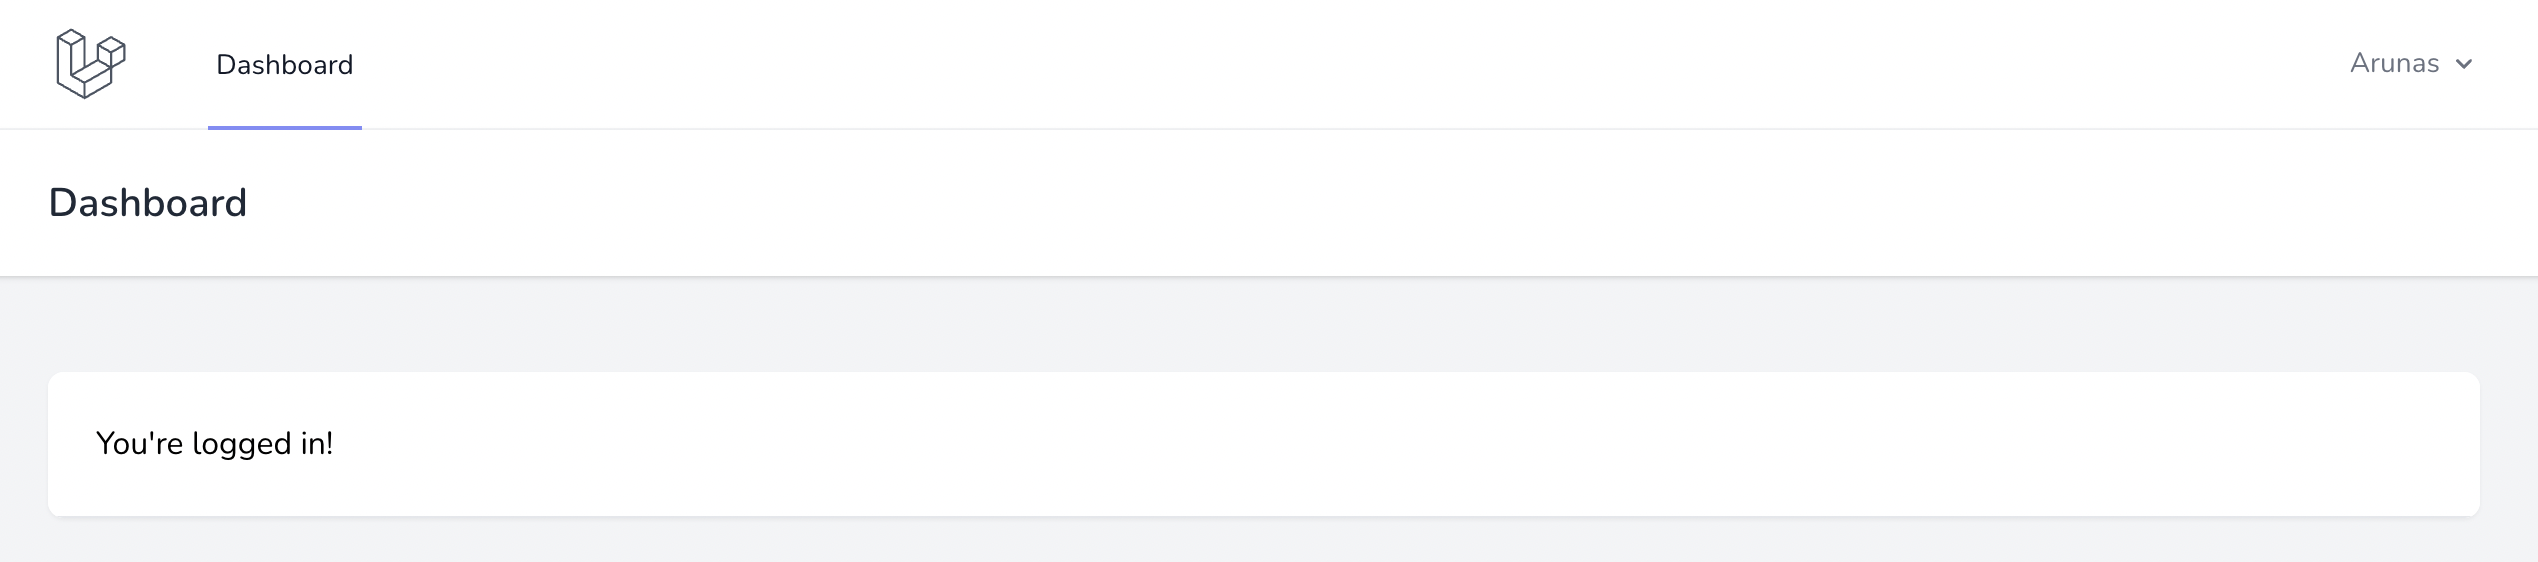
Brilliant! We now have set up authentication, and we’re already logged in. We are now ready to set up the Belltastic component.
Setting up Belltastic component
First, let’s install the Composer package:
composer require belltastic/laravel
And then publish the configuration, so we can make the necessary changes when needed:
php artisan vendor:publish --tag="belltastic-config"
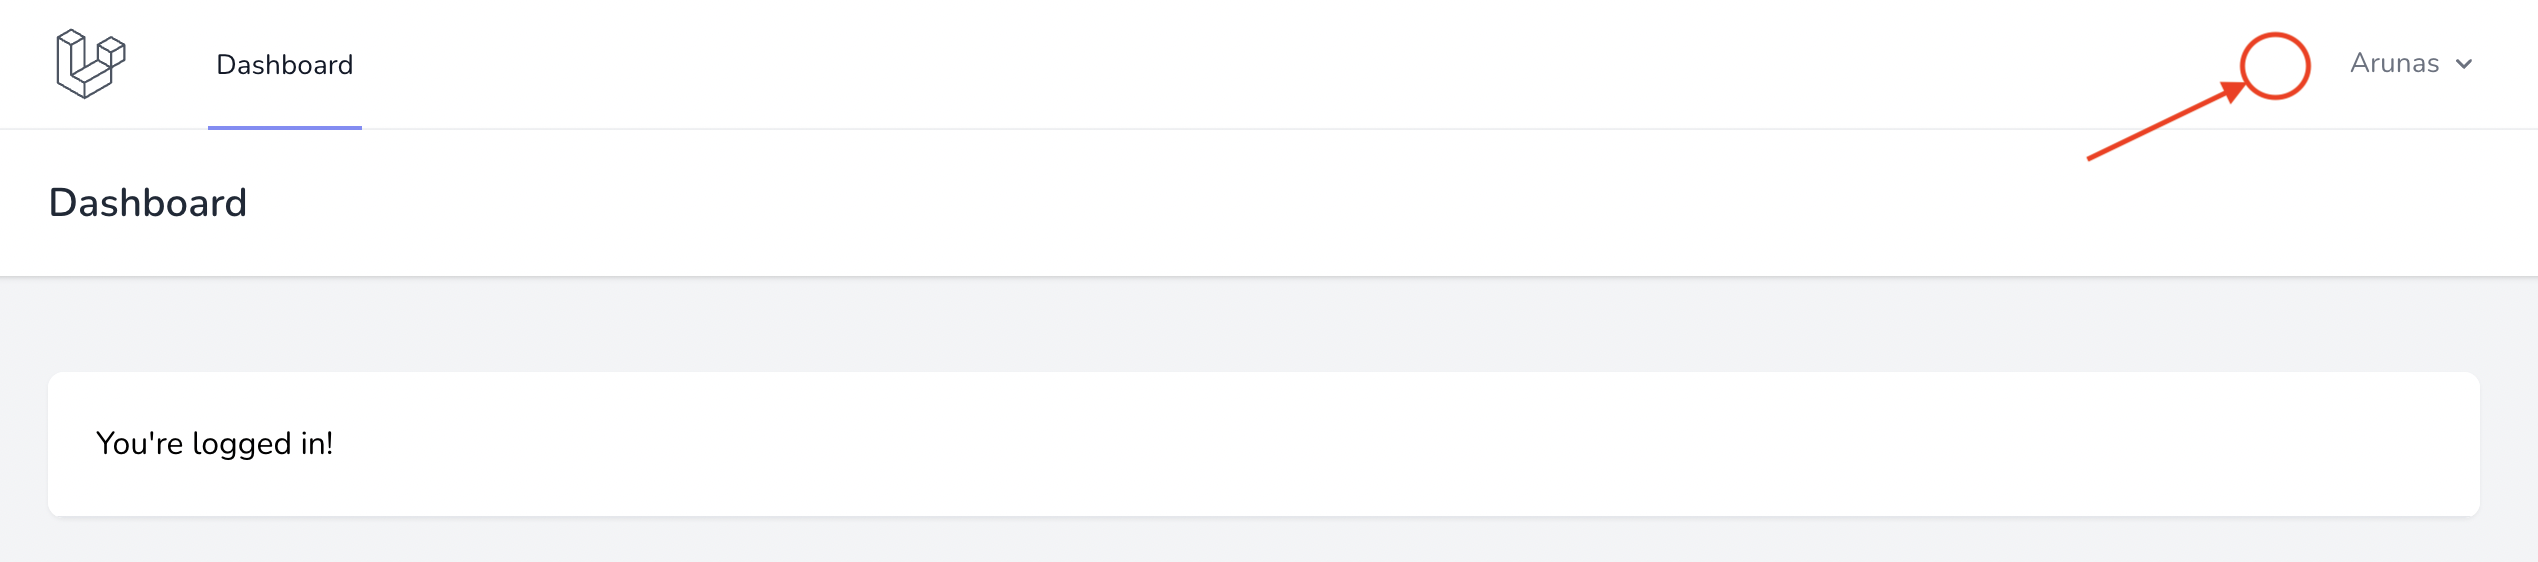
Great! Now we have to decide where we want to put our notifications inbox on the website. I think it makes sense to place next to the logged-in user’s name in the top-right corner here:
Let’s figure out where that is in code.
When we installed Laravel Breeze, it has already set up the navigation for us, and it can be found in resources/views/layouts/navigation.blade.php. Scroll a bit until you see the “Settings Dropdown” section:
<!-- Settings Dropdown -->
<div class="hidden sm:flex sm:items-center sm:ml-6">
This is where we want our notifications component to go.
In order to place Belltastic there, all we need to do is just add a @belltasticComponent directive. Let’s surround it with some margin on the right, so it’s not too close to the user’s name:
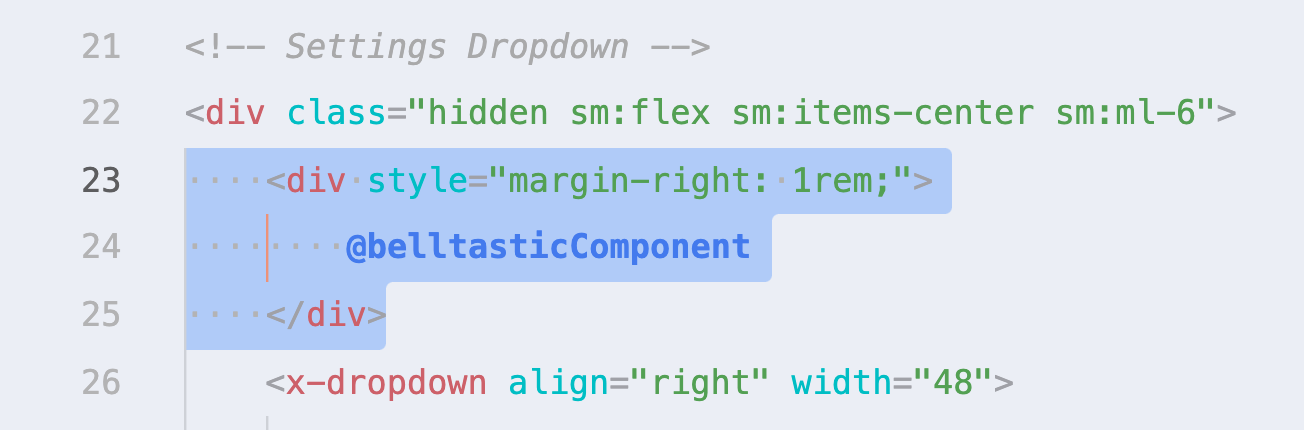
That’s all you need to do inside the views! If you refresh your website, you’ll notice the component is there, but we also have an issue:
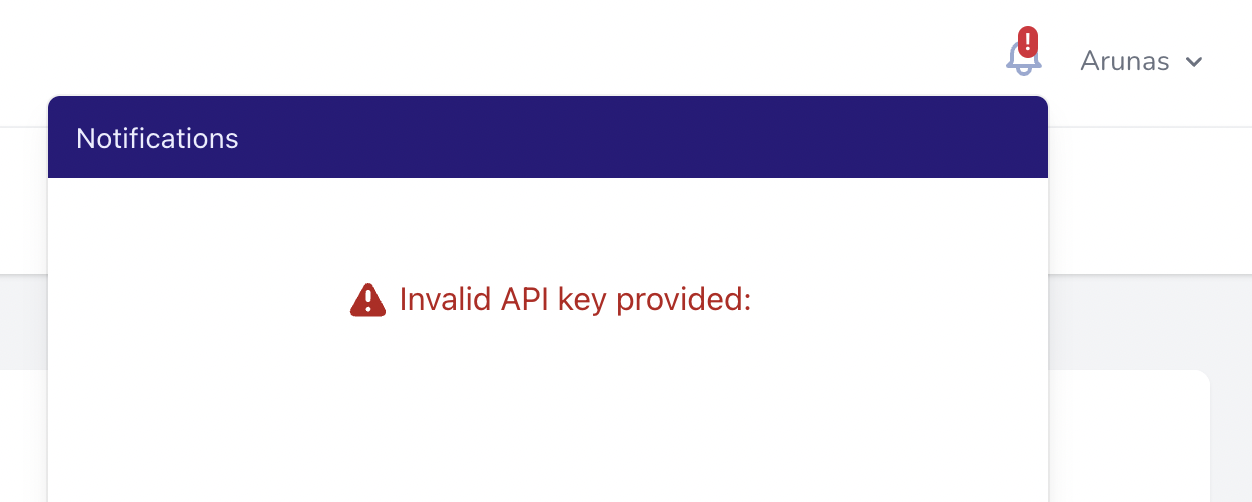
We haven’t yet configured our API keys! We need this to make sure this component is connecting to your Belltastic account and is showing data from the correct project. Let’s get that sorted now.
Getting API keys
First, sign in to your Belltastic account (or sign up if you don’t have one).
Your account will already have a Default project created. Use that one, or create a new project for this tutorial.
Next, go to your project settings page and scroll down to the Create API Token section:
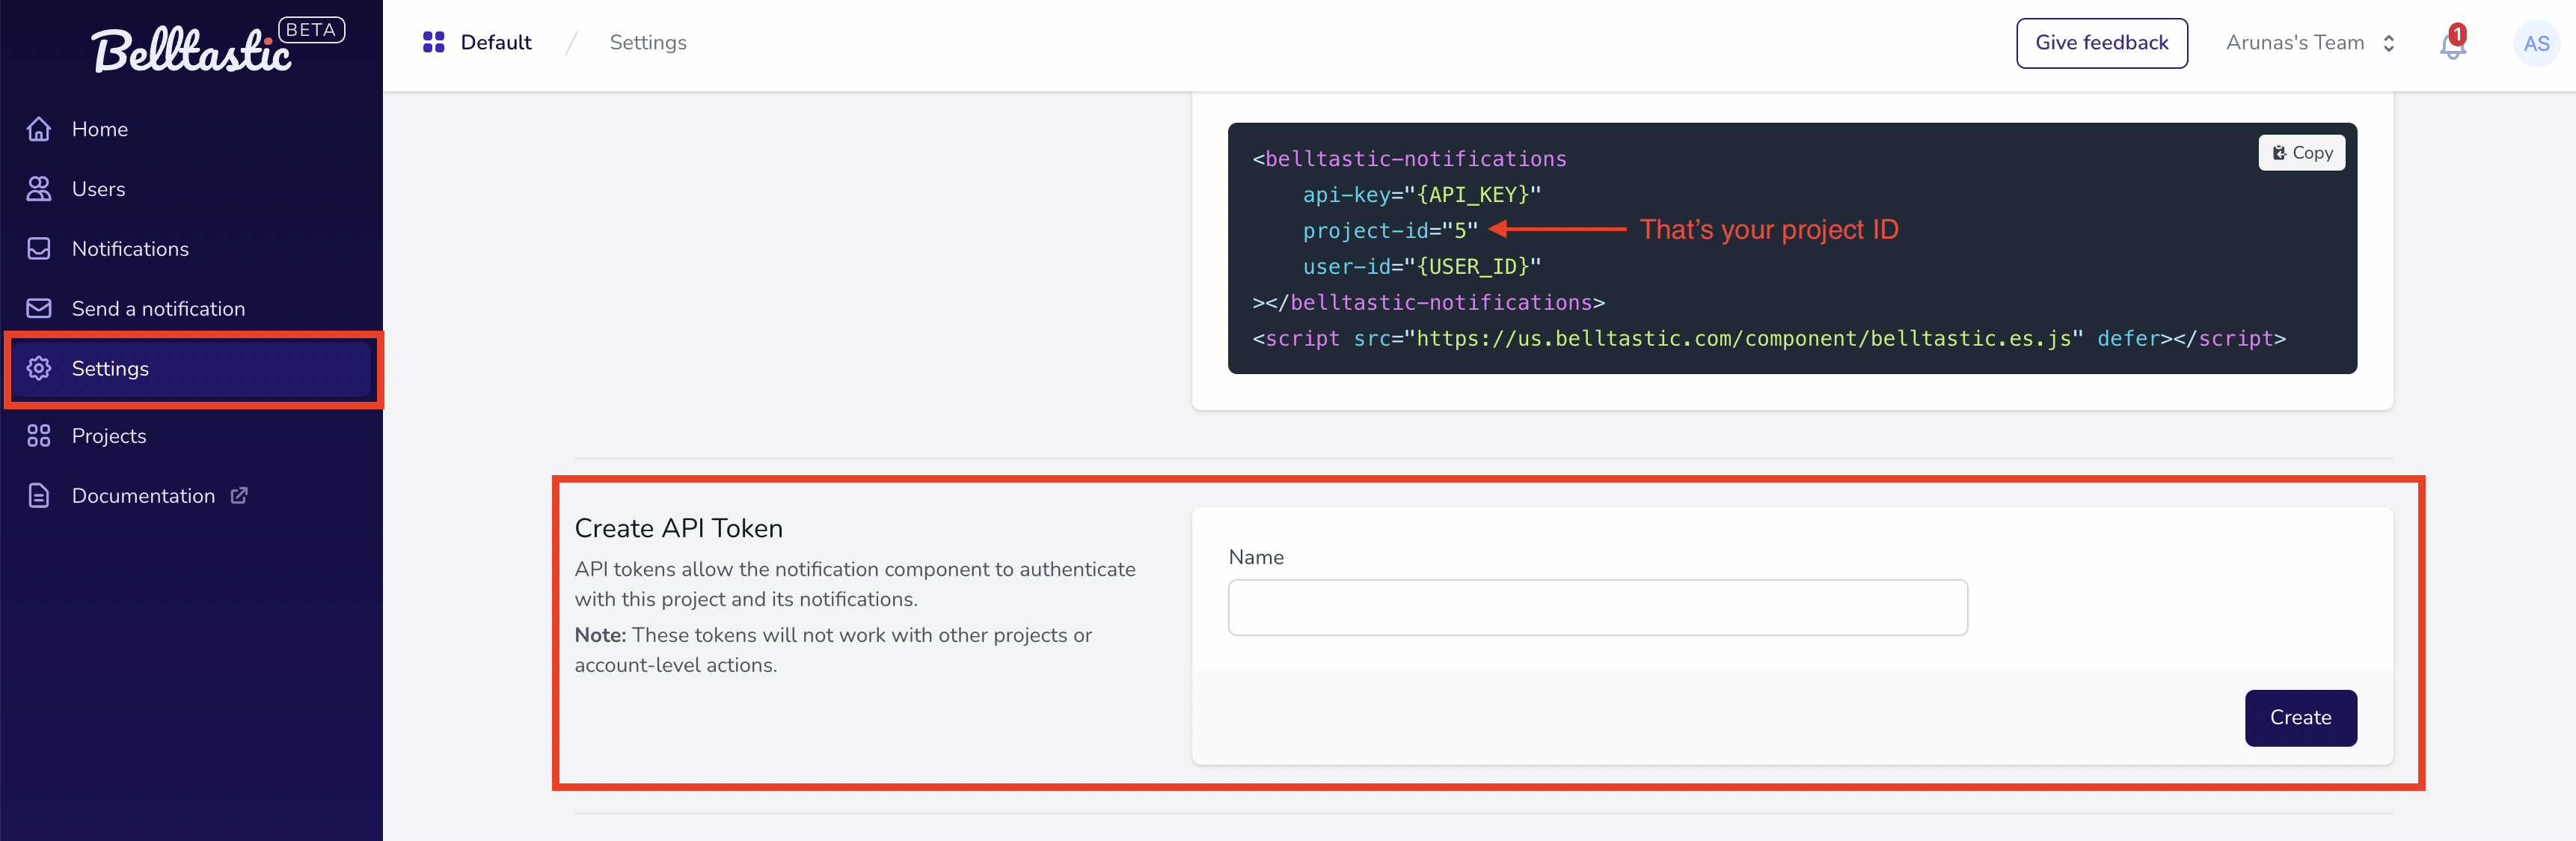
Note the Project ID that is displayed as part of the code snippet. You’ll have to copy the ID to an .env variable like so:
BELLTASTIC_PROJECT_ID=5
Now let’s create a project-level API token. This token can only be used with the web component and only for this particular project. This way your data is kept secure and isolated between projects.
Type in any name, like “tutorial token” and press Create.
You will be given an API token that you should copy, because it will never be shown again:
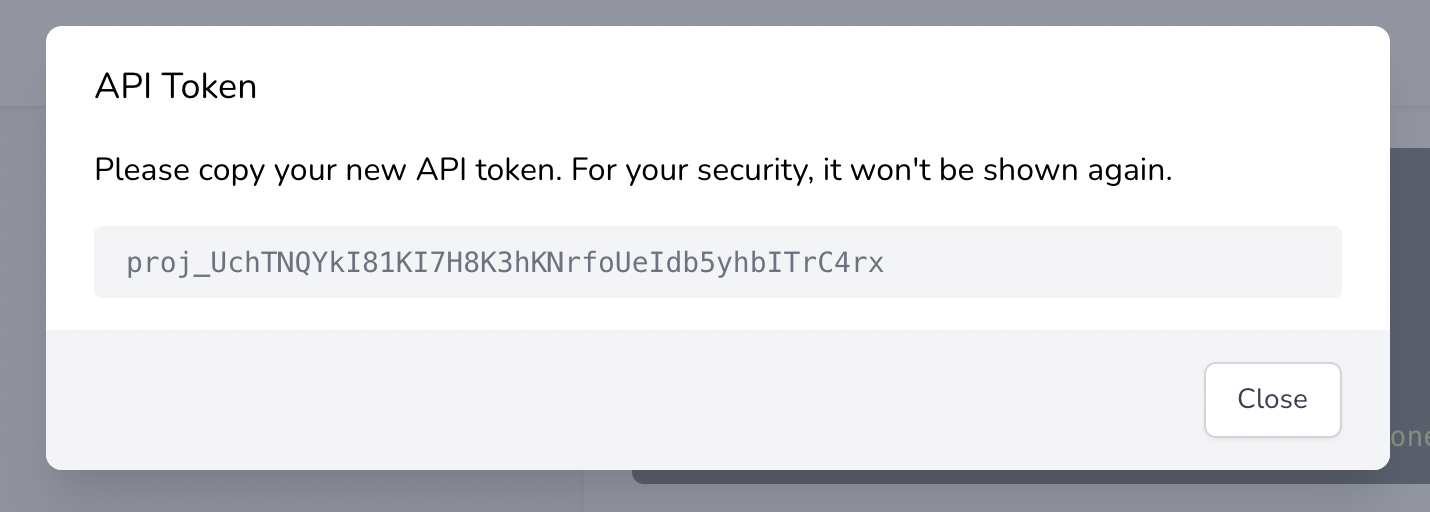
Once you copied the token, go back to your code editor and paste it in your .env file like so:
BELLTASTIC_PROJECT_API_KEY=proj_UchTNQYkI81KI7H8K3hKNrfoUeIdb5yhbITrC4rx
Now you’ll have both Belltastic project variables set up like so:

The result
Now that we’ve set up the API keys and the Laravel package, let’s reload the page and see the component working!
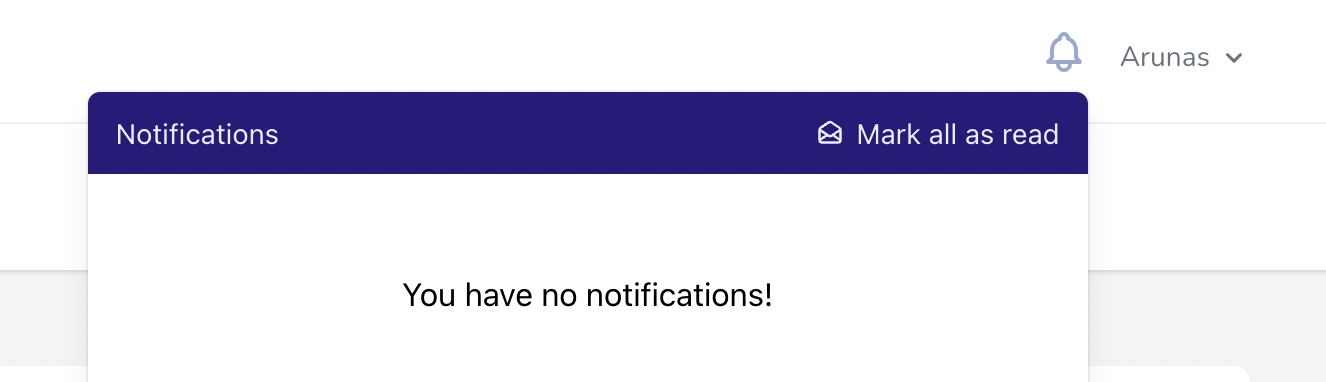
It looks empty. Let's send a test notification to make sure everything's connected properly.
Send a test notification
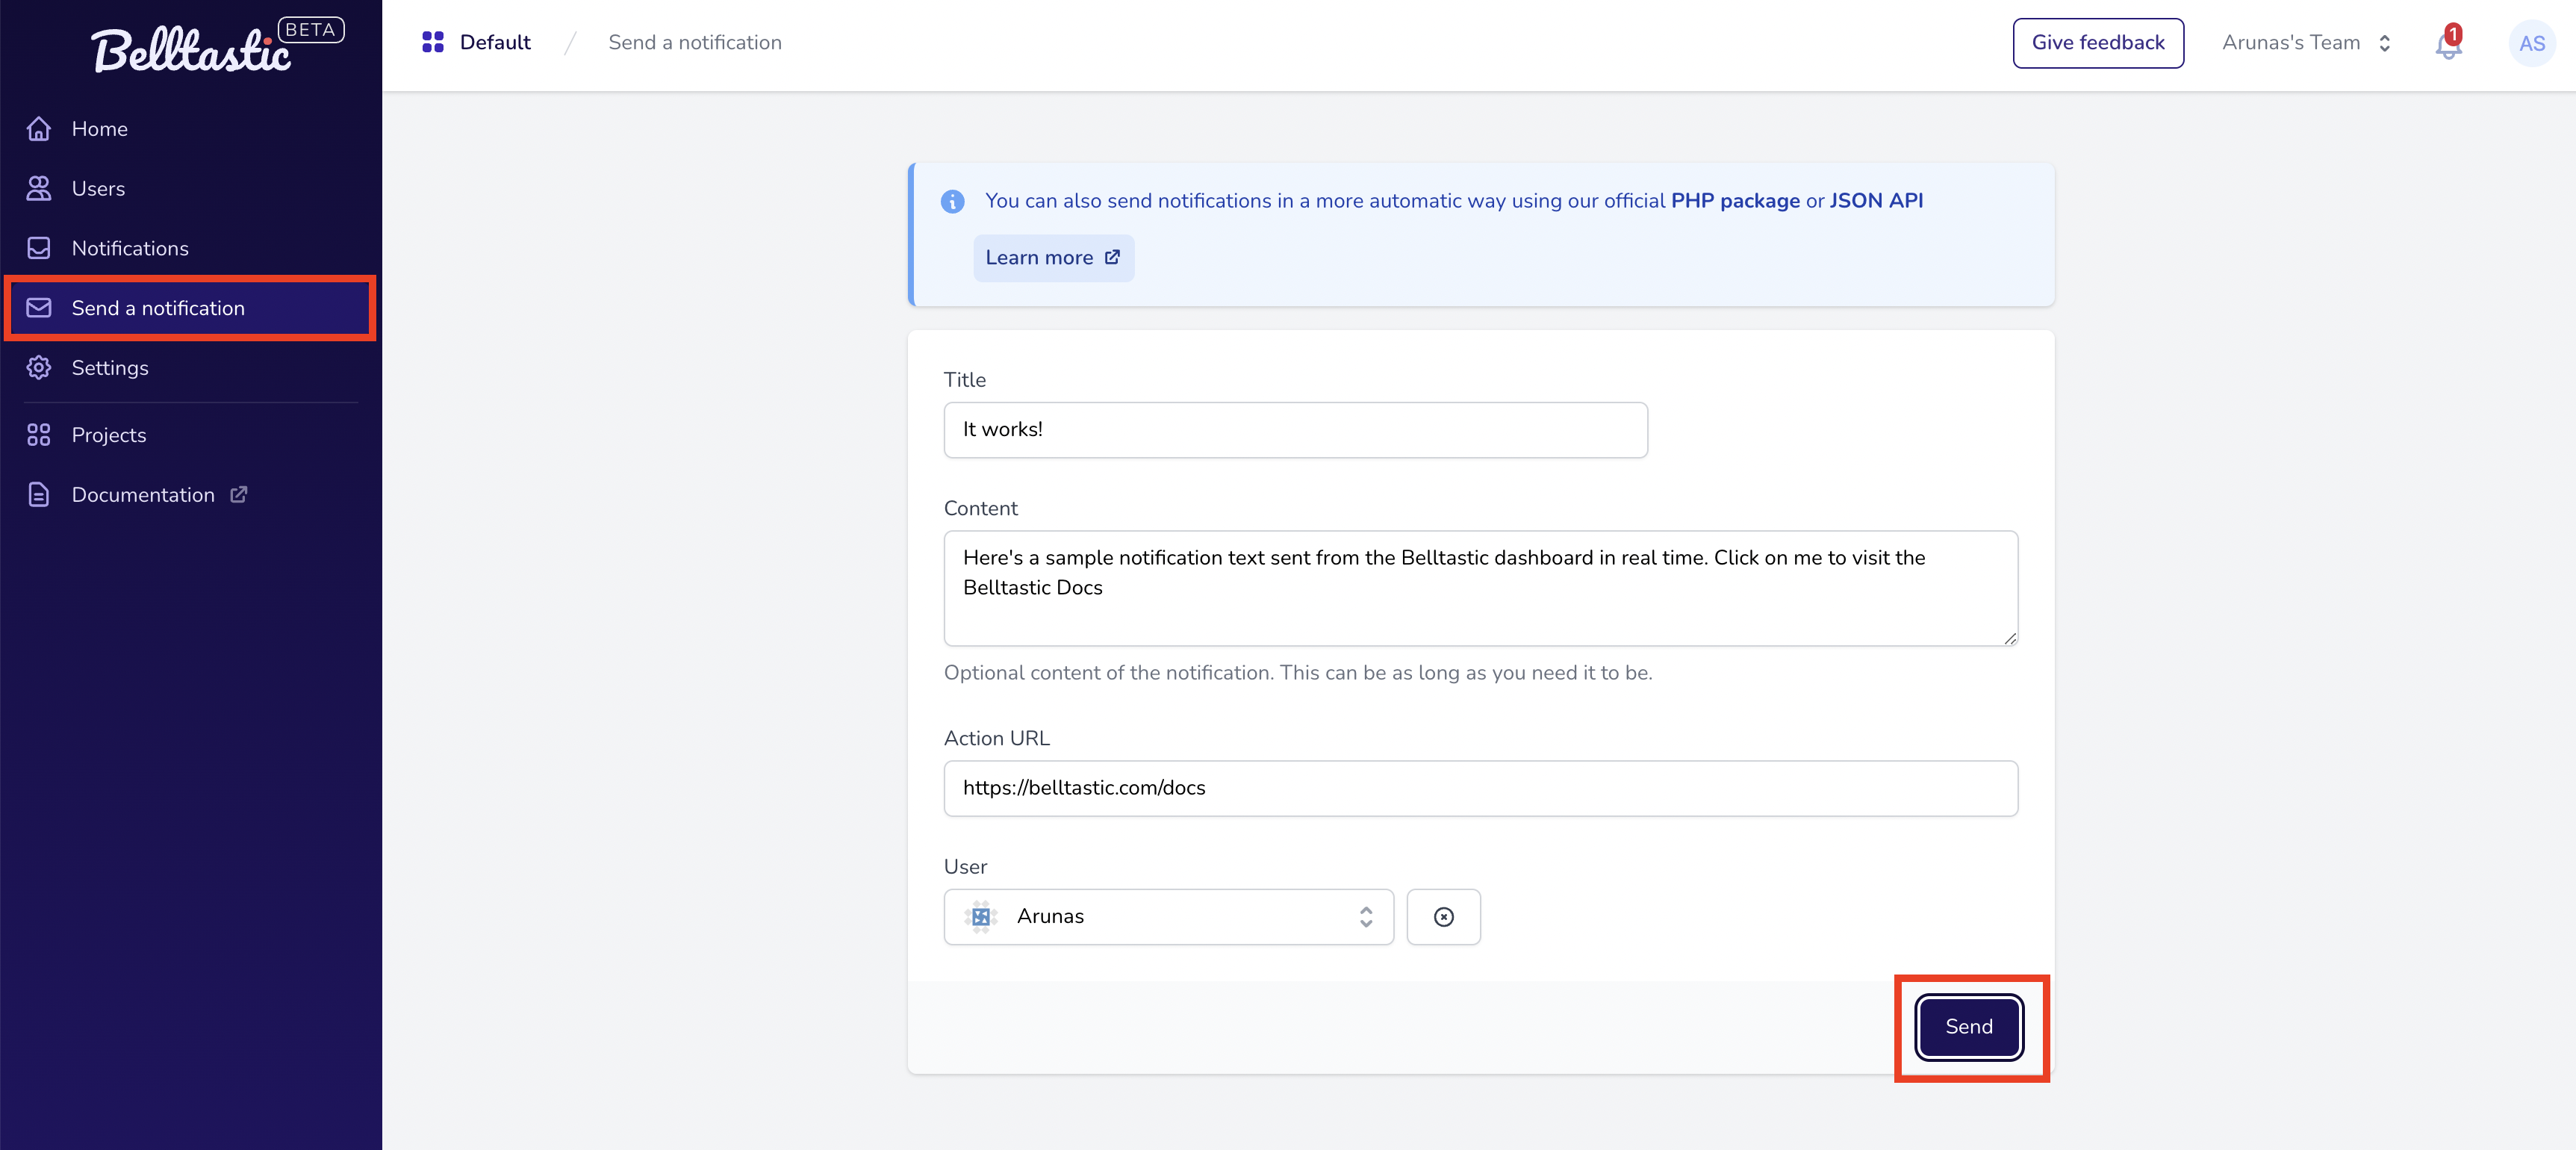
The easiest way to send a test notification is through the Belltastic dashboard.
Go to the “Send a notification” page where you’ll see a simple form to send a new notification.
Fill in a title and maybe some text, then select a user who should receive this notification, and click Send!
Now go back to your Laravel project, and you’ll see the notification has arrived as expected:
Congratulations, you are now all set up and ready to go!
Sending notifications programmatically
Obviously, you won’t be sending every user notification directly from the Belltastic dashboard. That’s where the Laravel package can help again. It integrates easily with your existing Laravel Notifications workflow, as well as offering other, simpler methods for sending notifications from your code.
You can more about sending notifications using the official Laravel package here:
Sending notifications via Laravel
Summary
I hope you see how easy it was to get started with Belltastic on Laravel. If you ever get stuck or have any questions/suggestions, feel free to reach out to us at [email protected]
Happy coding!

